Archive | Chocolate RSS feed for this section

Chocolate Crème Fraîche Cookies

27 Mar

IMG_0198

While I do not condone extreme diets, eating food made with fresh, uncomplicated ingredients is important to me. But until last week, my admiration and passion for traditional French pastry had prevented me from experimenting with healthy, unconventional baked goods.

In my opinion, no gluten, dairy, and wheat-free pound cake can match one made with good ol’ butter, sugar, and all-purpose flour. That being said, after stumbling upon so many gorgeous photos of cookies and breads using wholesome ingredients, I decided to try a naturally gluten-free morning muffin recipe. The results were less than stellar.

IMG_0229

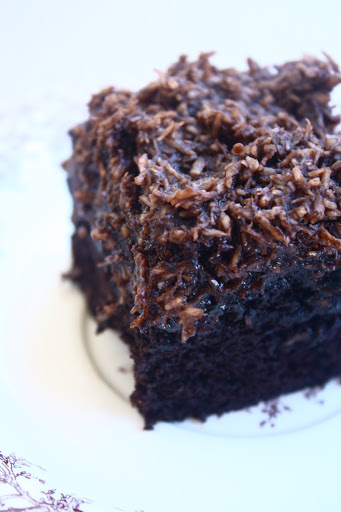
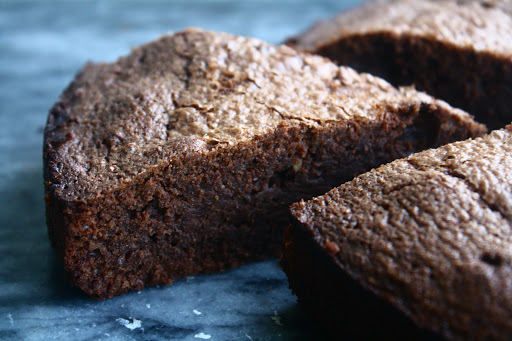
What started as a hopeful undertaking turned into an epic baking fail. Shredded carrots and apple, golden raisins, and coconut and almond flours morphed into a gritty-tasting stump that crumbled in my hands. For a second, I debated sending the muffins to school with my little sister, but feared that my reputation as bake sale queen would forever be tarnished. Both demoralized and slightly amused, I embarked upon another baking project the next day, deciding to stick to what I know.

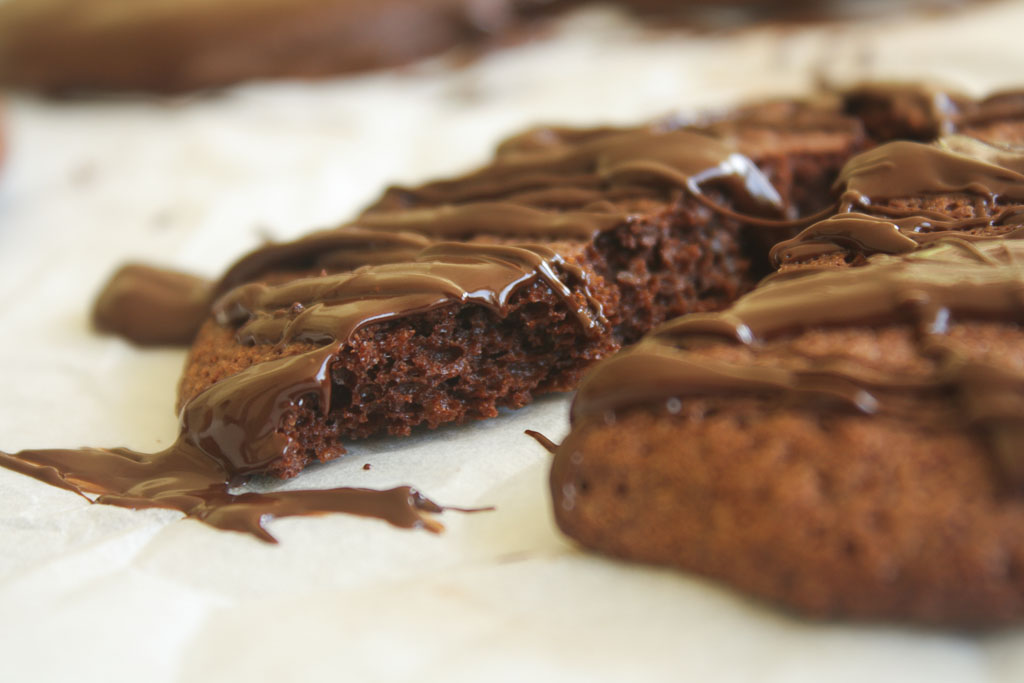
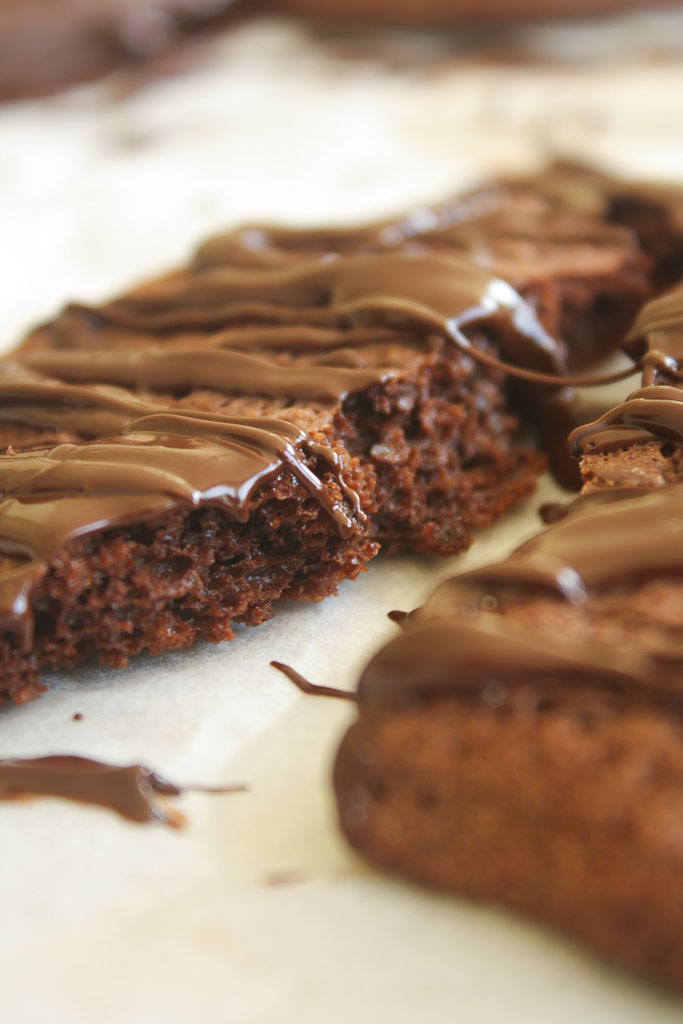
It had been a while since I had made a pure chocolate cookie, and these could not have hit the spot more. The recipe comes from acclaimed chocolate makers Rick and Michael Mast, the geniuses behind Mast Brothers Chocolate Factory in Brooklyn. While some chocolate cookies can be overly-rich and dense, the addition of crème fraîche gives these an ethereally-light and soft texture.

So as much as I like the idea of incorporating healthier baked goods into my daily meal rotation, I’ve learned that some foods are best in their simple, indulgent forms.

Recipe courtesy of Bon Appétit, February 2014

These cookies spread quite a bit while baking, so make sure to leave ample space between each one. 

  • 20 oz bittersweet chocolate (at least 70% cacao), chopped, divided
  • 1/4 cup all-purpose flour
  • 1 1/2 tsp baking powder
  • 1 tsp kosher salt
  • 1 1/2 cups (packed) brown sugar
  • 1/2 cup (1 stick) unsalted butter, room temperature
  • 4 large eggs
  • 2 tablespoons crème fraîche or sour cream

Yields about 4 dozen.

1. Place racks in lower and upper thirds of oven. Heat 8 ounces chocolate in a heatproof bowl set over a saucepan of simmering water, stirring until chocolate is melted; let cool slightly. Reserve saucepan for melting more chocolate for glaze.

2. Sift flour, baking powder, and salt in a small bowl and whisk together; set aside. Using an electric mixer equipped with a paddle attachment, beat brown sugar and butter on medium-high speed until light and fluffy, about 4 minutes. Add eggs and crème fraîche and beat until just combined. Reduce speed to low and gradually mix in melted chocolate; reserve chocolate bowl. Mix in dry ingredients just to combine; fold in 8 ounces coarsely chopped chocolate. Do not overmix. Cover and chill dough until firm, at least 30 minutes.

3. Preheat oven to 350° F. Drop heaping tablespoonfuls of dough onto parchment-lined baking sheets, spacing 2″ apart. Bake cookies, rotating sheets halfway through, until edges are set but centers are still slightly soft, 15–18 minutes. Let cookies cool on baking sheets for 3 minutes. Transfer to wire racks and let cool.

4. Melt remaining 4 ounces chocolate in reserved bowl set over reserved saucepan of simmering water. Let chocolate cool slightly, then dip or drizzle cookies with chocolate as desired. Let sit until chocolate is set.

Peanut Butter Blondies

3 Jan

At the beginning of January, most food blogs share healthy recipes to help you recover from holiday indulgences and commit to your New Year’s resolutions. Even though I am all about kale salad right now (because it tastes delicious), maintaining a truly healthy diet requires balance. An article I read in the New York Times re-affirmed this belief. I love to bake and consume sweets almost every day, but in moderation, which is key. If my diet centers around fresh produce, whole grains, and lean meats, there is nothing wrong with enjoying quality, homemade baked goods. Which leads me to these peanut butter blondies.

Peanut butter is a quintessential American food. However, despite its ubiquity, most people either love it or they hate it. My dad was of the latter camp, and for years, I tried in vain to convert him. I slathered peanut butter on brioche toast, sandwiched it between shortbread, and even sacrificed some of my beloved Girl Scout cookies to the cause. These magical little bars finally inspired him to see the light.

The blondies have an undeniable peanut flavor without being too rich or overpowering. The saltiness of the roasted peanuts contrasts perfectly with the sweetness of the chocolate chunks, and best of all, the batter takes minutes to mix up in a saucepan. My dad ate two in a matter of minutes, and was disappointed when they were all gone. So, what are you waiting for? It’s 2014. Let’s celebrate with some peanut butter blondies.

Recipe courtesy of Chewy Gooey Crispy Crunchy by Alice Medrich

  • 1 cup all-purpose flour
  • 1/2 tsp baking powder
  • 1/4 tsp salt
  • 8 tblsp (1 stick) unsalted butter
  • 2/3 cup packed light brown sugar
  • 1/3 cup well-stirred natural, salted peanut butter (smooth)
  • 1 large egg
  • 1/2 tsp pure vanilla extract
  • 1/2 cup roasted peanuts
  • 1/2 cup (3 oz) semisweet chocolate chips or chunks

Yields 16 blondies.

1. Line the bottom and all four sides of an 8-inch square pan with foil. Position a rack in the lower third of the oven and preheat to 350° F.

2. Combine the flour, baking powder, and salt in a small bowl and mix together thoroughly with a whisk or fork. Melt the butter in a small saucepan. Remove the pan from the heat and stir in the brown sugar and peanut butter. Use a wooden spoon or rubber spatula to beat in the egg, vanilla, and half of the peanuts. Stir in the flour mixture until just combined. Do not overmix.

3. Spread the batter evenly in the prepared pan. Sprinkle the remaining nuts and chocolate chips evenly over the top. Bake for 20-25 minutes, or until the nuts have toasted, the top is golden brown, and the edges have pulled away from the sides of the pan. Cool the pan on a rack for 5 minutes, then lift the ends of the foil and allow the blondies to cool completely on the rack. Use a long, sharp knife to cut into squares. The blondies may be stored in an airtight container for 3-4 days.

Chocolate-Coconut Sheet Cake

21 Jan

When I walked into the library on Friday, I spotted the February issue of Martha Stewart Living on the magazine shelf, and decided to actively procrastinate for a few minutes. My eyes nearly popped out of my head when I stumbled upon the Valentine’s Day, all-chocolate dessert spread. Imagine a page covered in silky chocolate, entitled “Truly Madly Deeply,” staring at you as you prepare to buckle down and write an English self-assessment- now that’s a real distraction. But I couldn’t resist the temptation to peruse the recipes, and this chocolate-coconut sheet cake immediately caught my attention. I’m sure you can guess how I ended up spending my Friday night. 😉

Chocolate and coconut are two of my favorite ingredients, and together, well the photo speaks for itself. This is the moistest, most deeply chocolatey cake I have ever made. Buttermilk and brewed coffee are key, and premium Dutch-process cocoa powder accounts for the cake’s rich, almost midnight black color. Taste-wise, every bite is straight out of dessert heaven. Each forkful contains three layers: wisps of tender coconut shavings on top, the fudgey, almost gooey center, and the phenomenal, aromatic cake. I probably sound a bit strange as I passionately describe this baked good as though it has a life of its own, but it’s the weekend before mid-terms, and what’s a girl with a sweet tooth to do? 

Recipe courtesy of Martha Stewart Living

Ingredients 
For the cake:
3/4 cup unsweetened cocoa powder*, plus more for dish 
1 1/2 cups all-purpose flour 
1 1/2 cups granulated sugar 
1 1/2 tsp baking soda 
3/4 tsp baking powder
3/4 tsp salt 
2 large eggs, lightly beaten
3/4 cup low-fat buttermilk**
3/4 cup warm, strong brewed coffee
3 tblsp safflower oil (I used olive oil)
1 tsp pure vanilla extract 

For the topping:
1 stick plus 2 tblsp unsalted butter
2 cups confectioners’ sugar 
6 tblsp unsweetened cocoa powder 
3 cups finely shredded, dried, unsweetened coconut
2/3 cup warm, strong brewed coffee 
1 tsp pure vanilla extract 

1. Preheat the oven to 350 degrees F. Butter a 9-by-13-inch baking dish; line the bottom and two long sides with parchment, leaving an overhang. Butter parchment, and dust with cocoa powder. Sift together cocoa powder, flour, granulated sugar, baking soda, baking powder, and salt in a large bowl; whisk to combine. Gather flour mixture into a mound, and create a well in center. Pour eggs, buttermilk, coffee, oil, and vanilla into well, and whisk until thoroughly combined and smooth. Pour batter into dish, and spread evenly with an offset spatula. Bake until set, about 25 minutes. Even if the center looks a bit fudgey, it will continue cooking once you remove it from the oven. It is key not to overcook it. 
2. To make the topping, melt butter over medium heat in a small saucepan. Sift confectioners’ sugar, cocoa powder, and coconut in a large bowl; combine with a spoon. Stir coffee and vanilla into melted butter, and pour over coconut mixture. Stir to combine, and immediately spread evenly over warm cake. Let the cake cool completely on wire rack.

*I recommend using Dutch-process cocoa powder, if you wish to achieve a darker color and richer chocolate flavor. However, natural cocoa works fine as well. Here is a link to a photo that demonstrates the contrast between a cake made with Dutch-process versus natural cocoa. David Lebovitz also has a wonderfully detailed post that explains the differences between the two kinds. 
**If you do not have buttermilk on hand, not to worry! You can make your own simply by measuring out 3/4 cup of milk and adding the juice from half a lemon to it. Let the milk sit for a few minutes until it curdles on the top, and you are ready to go. 

Easy Chocolate Pecan Torte

4 Jan

Recipe courtesy of Sinfully Easy Delicious Desserts 

Ingredients 
1 cup raw pecans 
2 tblsp all-purpose flour 
6 oz bittersweet chocolate (66 to 72% cacao), coarsely chopped 
8 tblsp unsalted butter, softened but still cool, cut into chunks 
3/4 cup granulated sugar 
Generous 1/8 tsp salt 
4 cold large eggs 

Serves 10-12

1. Preheat the oven to 350 degrees F. Generously grease the bottom and sides of an 8-inch springform pan with butter. Spread the pecans on a baking sheet and bake them for 7-10 minutes, stirring them once or twice, until they are toasted and fragrant. Scrape the nuts onto a plate and let them cool completely. Increase the oven temperature to 375. Once the nuts have cooled, pulse the pecans and the flour in the food processor until finely ground. 
2. Place the chocolate in a large heatproof bowl, over a pot of simmering water, and stir occasionally until nearly melted. Remove the bowl from the heat and stir the chocolate until it is completely melted and smooth. 
3. Transfer the chocolate into the bowl of a stand mixer fitted with a paddle attachment, and beat in the butter, granulated sugar, and salt until the butter is completely melted and the mixture thickens and lightens slightly in color. Beat in the eggs one at a time, then beat at medium-high speed for a minute or two, or until the batter is fluffy and lightened in color. Stir in the pecan mixture. 
4. Spread the batter evenly into the prepared pan and bake for 30-35 minutes, until a toothpick inserted about 1.5 inches from the side of the pan comes out clean. The center will still be gooey. 
5. Set the pan on a rack to cool. Slide a thin knife around the inside of the pan to loosen the cake and allow the thin crust on top to sink (slightly) as the cake cools. Let cool completely and remove from the pan. Garnish with powdered sugar or whipped cream, if desired. The torte can be kept covered at room temperature for at least 3 days, or frozen, well-wrapped for 3 months.

I am well aware that this luxurious chocolate-pecan torte recipe comes to you at the beginning of “clean eating” month. In January, many of us embark upon kale juice cleanses and grueling gym workouts in an effort to start the new year on the right foot. But this is a baking blog after all, and I could not wait to share this decadent, sinfully easy dessert. 

You only need seven ingredients to throw this torte together. You could substitute hazelnuts or walnuts for pecans and omit the flour for a gluten-free version. The exterior surface crackles just barely after baking, contrasting well with the moist, but not sticky interior. My problem with so many chocolate tortes is their uniformity of flavor and denseness. This cake hit all the right notes: chocolatey but with depth of flavor from the pecans, and sturdy but not dry. It is definitely a crowd pleaser; my family members enthusiastically declared it one of the best baked goods I have ever made. Major score! 

I recommend preparing the cake a day prior to serving it as the extra time enhances its richness. I enjoyed my piece plain, a chocolate purist, but vanilla bean ice cream or freshly whipped cream would complement it beautifully.

Coconut Chocolate Granola Bars

22 Sep

Recipe adapted from How Sweet It Is 

Ingredients 

1 cup old-fashioned rolled oats 
1 cup shredded, unsweetened coconut 
1/2 cup raw sliced almonds 
1/2 cup raw whole almonds, coarsely chopped 
1/4 cup flaxseed 
3 tblsp whole wheat flour 
1/4 tsp salt
1 tsp vanilla extract 
1/3 cup packed coconut oil 
1/3 cup honey 
1/3 cup dark chocolate chunks 

Makes 8-12 bars, depending on how big you cut them. 


1.  Preheat the oven to 300 degrees. Line an 8×8 square pan with parchment paper. 

2. In a large bowl, combine oats, shredded coconut, flour, flaxseed, sliced almonds, chopped almonds, salt, and chocolate chunks, mixing very thoroughly until combined. In a small bowl, combine honey and coconut oil, microwaving on high power for 10 seconds at a time, stirring after each increment, until coconut oil is melted. Stir vanilla extract into coconut oil mixture, then pour the entire mix over the dry ingredients.

3. Using a wooden spoon or rubber spatula, stir until all of the ingredients are evenly coated in the coconut oil. Press the dough into the pan, pressing with the back of the spoon to smooth the top. Bake for 30 minutes, until the top is golden brown. Allow the bars to cool to room temperature before placing them in the refrigerator for an hour to harden. Remove from the fridge and cut into squares. Serve immediately, or return them to the fridge for later consumption.
Now that reality has sunk in and school is in full swing, every day is a race from one class to the next, onto the yellow bus to tennis matches, and finally back home where I glue myself to a chair for long, treacherous hours of homework. In order to maintain my health and sanity in this crazy whirlwind of a schedule, I need snacks. And not just your run-of-the-mill sliced apples or suspiciously neon orange “flavor blasted” goldfish, but a hearty, satisfying, and delicious item that I can eat on the go. Enter Coconut Chocolate Granola Bars- a nutty, chocolatey, oat-y treat that is both satisfying and good for you. These trump my favorite store-bought granola bars in both flavor and freshness. They’re made from whole ingredients you can find in your pantry and that are easy to pronounce, unlike the mystery products listed on the backs of many wrappers. As hectic as my life has become in the past month, escaping to this nutritious homemade snack gives me the right boost of energy to keep going.