Archive | Pastry RSS feed for this section

Cardamom-Lemon Sticky Buns

6 May

IMG_0490-2

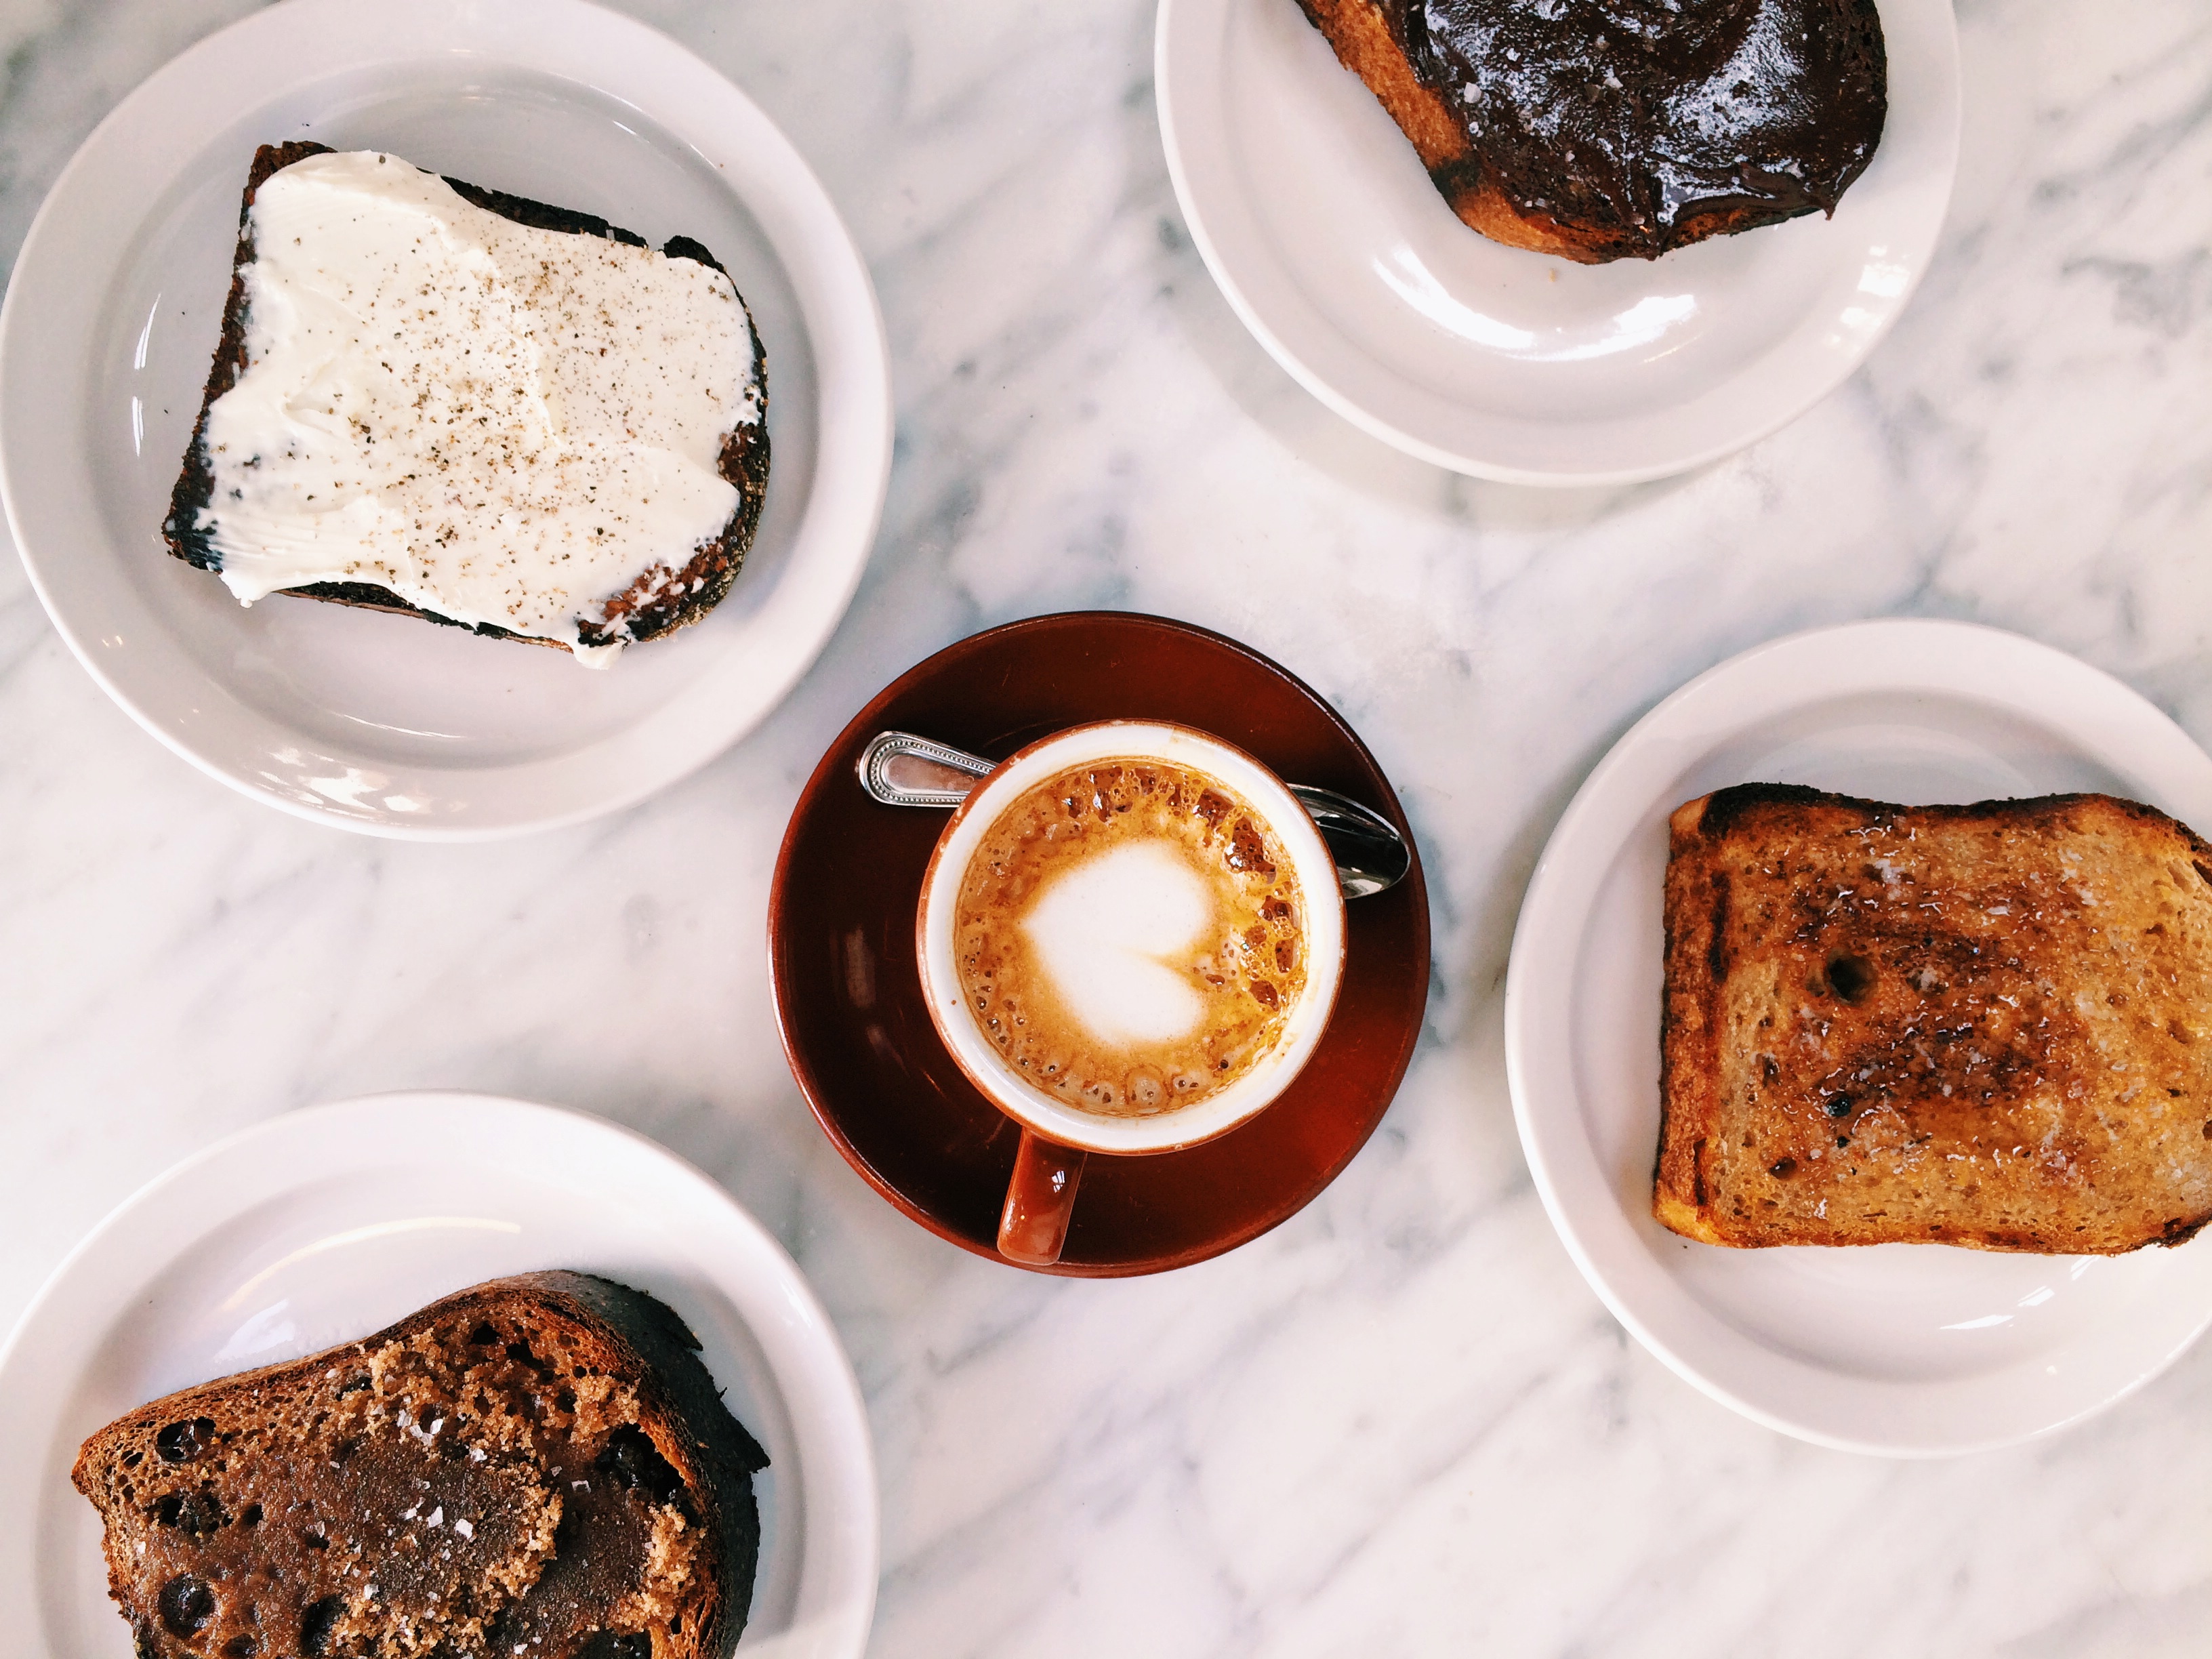
I have a love-hate relationship with social media. With Instagram, whenever I enjoy a delicious meal or notice something pretty on the street, I immediately reach for my iPhone camera. While I love capturing beautiful photos of special moments, I recognize the constant pressure to share that accompanies this platform. Through publishing photos, users validate the importance of their experiences, measuring positive reinforcement through ‘likes.’

IMG_0487-2

While making these buns, I stopped intermittently to snap photos. I climbed on top of chairs to achieve the perfect angle and even paraded around my house with a hot pan in order to find ideal light. Even though I am smitten with the final product, this hilariously arduous photo shoot hindered me from fully enjoying the baking process.

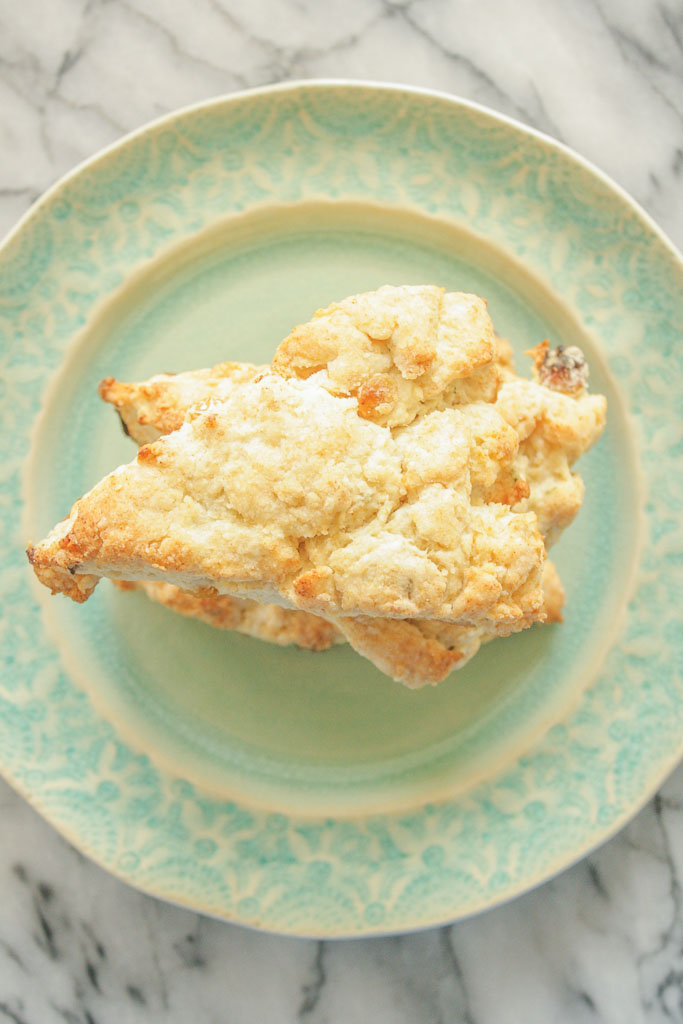
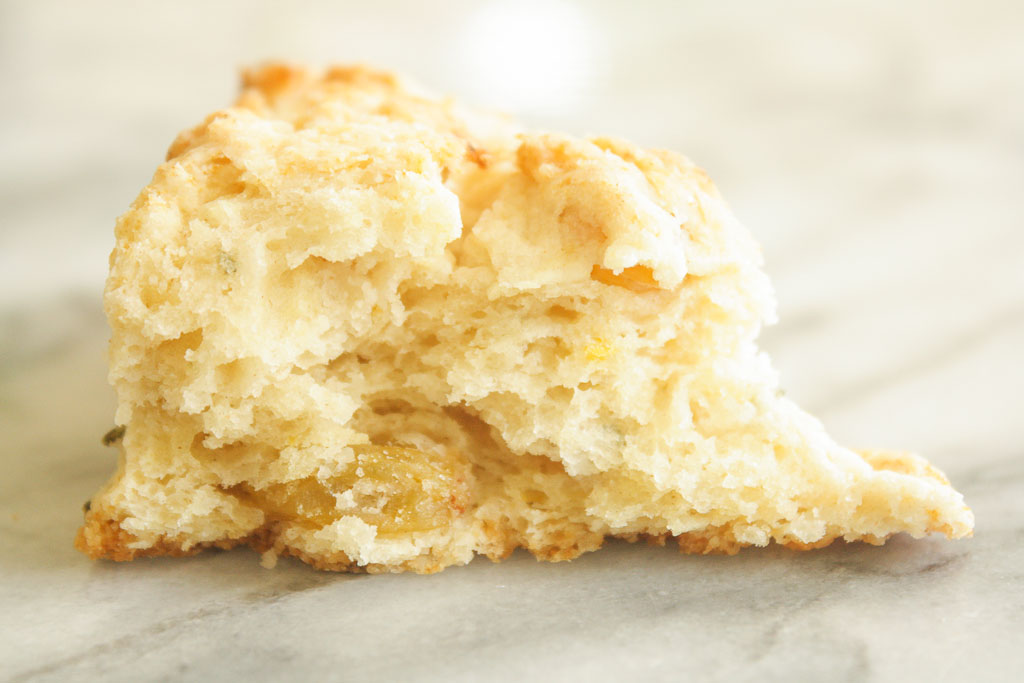
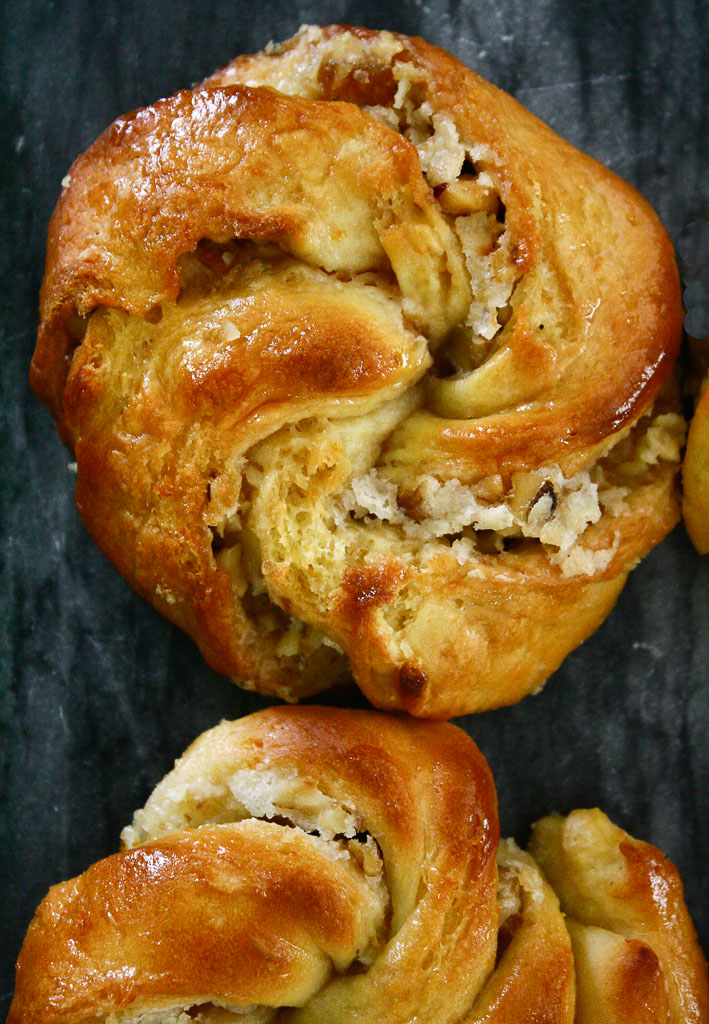
While I do not plan to delete my Instagram account, it is important for me to be aware of social media’s impacts. That being said, now we can talk about these sticky buns! The combination of fragrant cardamom, lemon, and warm yeast created an intoxicating smell while baking, and made for a more sophisticated flavor than the traditional cinnamon variety. While somewhat time-consuming, the techniques are relatively simple. Be patient with rising times and do not overwork the dough. You can even shape the buns then allow them to rise overnight, a standout dish for weekend breakfast or brunch.

Recipe slightly adapted from Food52.com

I found the lemon glaze from the original recipe to be quite sour. Instead, I’ve included a simple cream cheese glaze, which I think would offset the tanginess of the citrus. 

For the sticky bun dough:

  • 3/4 cups whole or 2% milk, just warm to the touch
  • 1/2 cup (1 stick) unsalted butter, melted and cooled 
  • 1/3 cup granulated sugar
  • 2 1/4 tsp active dry yeast
  • 1 tsp salt
  • 2 tsp ground cardamom (preferably freshly ground)
  • large egg, beaten
  • cups (approximately) all purpose flour (plus more as needed)

For the filling:

I only used about half of these ingredients. Two tablespoons of butter and 1/3 cup of lemon-sugar were enough to coat the dough. 

  • 2/3 cups granulated sugar
  • tblsp fresh lemon zest (from about 3 large lemons)
  • 4 tblsp very soft butter

For the cream cheese glaze:

  • 1/4 cup cream cheese, softened
  • 3 tblsp milk (if you prefer a hint of lemon flavor, replace one tablespoon of milk with lemon juice)
  • 1 1/2 cups powdered sugar (or enough to make a glaze consistency), sifted
  • Toasted pecan pieces, for topping (optional)

Yields about 14 buns.

1. Combine the warm milk, melted butter, and sugar in a large mixing bowl or in the bowl of a stand mixer. Stir in the yeast and let it sit until the yeast is foamy, about 7-10 minutes. Then, stir in the salt, cardamom, and beaten egg.

2. Stir in 2 cups of flour. Gradually add rest of flour little by little, until the dough feels sticky to the touch but doesn’t actually stick to your fingers. You want to avoid adding too much flour as this will keep the dough from rising as well as it could (I had about 1/4 cup left over). Knead the dough in a mixer on medium-low speed with a bread hook for about 6 minutes or by hand on a lightly floured surface for 10 minutes.

3. Transfer the dough to a lightly oiled bowl, cover it with plastic wrap or a damp kitchen towel, and set somewhere warm to rise until doubled in size, about 2 hours. Proceed with making the filling and assembling the buns.

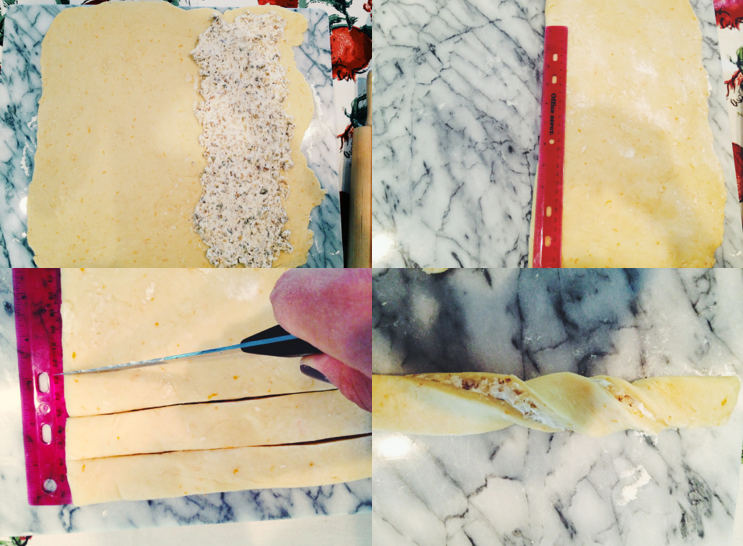
4. While the bun dough is rising, mix together the granulated sugar and lemon zest and set aside. Grease two 8-inch round cake pans (or a 9X13 pan). After the dough has risen, take it out of the bowl and on a lightly floured surface roll it into a large rectangle about 1/4-inch thick. Spread the dough rectangle with the soft butter, then sprinkle it evenly with the sugar-zest mixture.

5. Roll the rectangle up lengthwise into a long jellyroll. Slice it with a sharp serrated knife into 1-inch thick pieces. Arrange the pieces in the prepared baking pans, leaving a little space around them for them to rise and grow. Cover and place in a warm place to rise until doubled in size, about another hour. Or, put the rolls in the refrigerator to slowly rise overnight. Take them out in the morning. If they haven’t risen much in the fridge, let them come to room temperature and give them a few hours to rise.

6. When the rolls are almost finished rising, heat your oven to 350 degrees F. Bake the rolls in the oven until golden brown, about 25 minutes. Take them out and allow them to cool to lukewarm before drizzling with the glaze. While the glaze is wet, top with pecan pieces for extra crunch and flavor contrast.

7. To make the glaze, whisk together the milk, lemon juice (if using) with powdered sugar until it reaches glaze consistency. Drizzle over the sticky buns. These buns are best eaten the day they’re made, though they rewarm relatively well. If you want to keep them longer, you can take them as soon as they’ve cooled to room temperature, wrap them well in tinfoil and stick them in the freezer. Let them defrost at room temperature and gently rewarm them in the oven before serving.

48 Hours in San Francisco

12 Apr

Processed with VSCOcam with f2 preset

Traveling to San Francisco feels like revisiting a childhood home. I see my favorite nooks in the house and relive wonderful memories, but I also observe details that I  overlooked before. My parents brought me to San Francisco five years ago, and from the moment I set foot on Market Street, I felt the city’s dynamic and creative energy. I immediately fell in love with the charming architecture, eclectic shops and art galleries, and the incredible culinary scene.

This past weekend, my family and I returned to our usual spots while also exploring unfamiliar areas such as Pacific Heights and North Beach. All of our meals were outstanding; I have shared a glimpse into my foodie adventures here.

Processed with VSCOcam with f2 preset

We began Friday morning with breakfast at The Mill, a bustling cafe and bakery located in a quaint neighborhood. The Mill has gained national recognition for its “hipster toast,” thick slices of freshly-baked bread, toasted until golden and crusty, then slathered with a variety of house-made spreads. Every component of this toast is outstanding, elevating a staple item into something note-worthy. I particularly enjoyed the country bread topped with butter, honey, flecks of rosemary, and a sprinkling of sea salt. With high ceilings and airy table seating, The Mill provides a comfortable environment to work or to just chat with friends.

Processed with VSCOcam with c1 preset

image-13

For lunch, we headed to The Slanted Door, an upscale Vietnamese restaurant located inside the Ferry Building. Eating here has become a treasured family tradition that I look forward to every year.

I appreciate The Slanted Door’s modern approach to classic Vietnamese cuisine, crafting fresh, boldly-flavored dishes. Think raw California yellowtail garnished with crispy shallots, thai basil, and tangy lime juice. The caramelized claypot catfish, silky fish filets surrounded by sweet sliced onions, ginger, and cilantro, all encased in a luxurious sauce, may be one of the best things I have ever eaten.

Processed with VSCOcam with f2 preset

As much as we adore The Slanted Door, we have never eaten dessert there. The Ferry Building hosts an array of artisanal vendors, including small-batch chocolate makers, ice cream shops using local dairy, and a pristine French bakery named Miette.

Even if you do not have a sweet tooth, the bakery’s impeccable display of packaged candies, cookies, and confections will grab your attention. While you cannot go wrong with any of these products, I highly recommend sampling the acclaimed French macarons. Miette uses all-natural ingredients and refined flavors for its macarons; simple vanilla will always be my favorite.

Processed with VSCOcam with f2 preset

Spring blooms and San Francisco’s distinctive townhouses.

Processed with VSCOcam with f2 preset

Clockwise from left: chocolate kouign amann, blueberry-banana scone, raspberry-almond croissant, and original kouign amann.

On Saturday morning, we treated ourselves to coffee and pastries at the beautiful B. Patisserie in Pacific Heights. Belinda Leong, pastry chef and owner, contributed a kouign amann recipe to the April issue of Bon Appétit. After reading the story, I had to taste the flaky, buttery pastries in person. The rose-shaped creation contains more than one hundred layers of caramelized dough and a gooey, custard-like center. Other notable items include the raspberry-almond croissant and passion fruit brioche. I have always admired traditional French baking, but Leong’s innovative, expertly-executed take on the classics makes B. Patisserie a true standout.

Processed with VSCOcam with c1 preset

Vibrant spring flowers at Bi-Rite Market.

Processed with VSCOcam with f2 preset

After such an indulgent breakfast, we craved a light lunch. Greens Restaurant, a San Francisco institution, serves healthful vegetarian cuisine. While many meatless restaurants can be trendy and unsatisfying, Greens offers wholesome, approachable food. I loved my warm spinach and artichoke salad, topped with parmesan shavings, toasted pine nuts, and a perfectly poached egg. My sister’s cauliflower and feta cheese omelette was fluffy and moist, complemented by crispy roasted potatoes. Greens is an ideal venue for a laid-back meal with family.

image-14

Lemon-Rosemary Scones with Golden Raisins

8 Jan

When I joined my high school student newspaper staff, I learned about the concept of evergreen articles. In journalism, the term “evergreen” describes stories that remain relevant over long periods. I think this same concept can be applied to baking. No matter what ingredients are popular at the moment, people will always be on the lookout for certain basic recipes.

Brownies, chocolate chip cookies, and blueberry muffins are classics that every home baker should have in his or her arsenal. Cream scones also belong in this category of essential baked goods–buttery morsels with slightly crunchy tops and fluffy, tender interiors. Despite this pastry’s seeming simplicity, all the renditions I tried came up short from the light-as-air scone of my dreams. So I turned to Baking Illustrated, a source known for extensive testing and detailed instructions, and finally found what I was searching for.

These cream scones provide an ideal base for all sorts of add-ins. The rosemary’s herbaceous flavor offsets the pastry’s richness and contrasts well with the tangy lemon zest and plump, sweet golden raisins. To achieve flaky, buttery layers, it is key to handle the dough minimally and efficiently. Use a food processor to prevent the dough from overheating, and cut the scones with a sharp knife to ensure maximum lift. And there you have it! An endlessly adaptable cream scone recipe that will never go out of style.

Look at those flaky layers

Basic cream scone recipe courtesy of Baking Illustrated

  • 2 cups all-purpose flour, preferably a low-protein brand such as Gold Medal or Pillsbury
  • 1 tblsp baking powder
  • 2 tblsp sugar
  • 1/2 tsp salt
  • 5 tblsp cold unsalted butter, cut into chunks
  • 1/2 cup golden raisins (or other dried fruit of choice)
  • 1 cup cold heavy cream
  • 1 tblsp freshly grated lemon zest
  • 1 tblsp finely diced fresh rosemary

Yields 8 scones.

1. Adjust the oven rack to the middle position and preheat to 425° F. Mix the lemon zest and rosemary into the cream, and allow it to steep in the refrigerator for 10-15 minutes.

2. Whisk the flour, baking powder, sugar, and salt together in a large bowl. Place this mixture into the workbowl of a food processor equipped with a metal blade. Scatter the chunks of butter evenly over the dry ingredients. Cover and process with 10 one-second pulses, or until the dough resembles coarse pebbles.

3. Remove the blade and transfer the mixture back into the separate bowl. Gently stir in the cream with a fork or rubber spatula until the dough begins to form, about 30 seconds. Transfer the dough and loose flour bits to a clean work surface and knead the dough until it comes together into a rough, slightly sticky ball, 5 to 10 seconds.

4. Gently press the dough into an 8-inch round cake pan, release the round, and cut it into 8 wedges using a very sharp chef’s knife or bench scraper. Place the wedges 1/2 an inch apart on an ungreased baking sheet. Bake until the scone tops are lightly brown, 12-15 minutes. Cool on a wire rack for at least 10 minutes. Serve warm or at room temperature.

Orange-Walnut Twists and Vintage Finds

1 Nov

IMG_9226

As much as I love the smell of new shoes or the crackly sound pages make when you open a new book, older items have their unique charm. At vintage stores and flea markets, discovering a hidden gem among a pile of junk makes your purchase very memorable.

While strolling down Glendale Boulevard over the summer, I stumbled upon an used bookstore called Alias Books. Being a newspaper/magazine/literature-enthusiast, I could have spent hours perusing the shelves. Since I was on a time constraint, I headed straight to the most important section–cookbooks. When I spotted a 1959 edition of Pillsbury’s Best 1000 Recipes: Best of the Bake-Off Collection, I knew I had to have it.

Screen Shot 2013-10-25 at 7.23.34 PM

The first Pillsbury Bake-Off took place in 1949, when more than 4,000 finalists competed for a $50,000 grand prize. This book contains 1000 winning recipes from the 1959 event, organized by category: quick breads and muffins, yeasted doughs, cakes, and many more. Each recipe includes the name and hometown of the woman who created it, a special detail that gives the baked goods a sense of homeyness and personal touch. I initially bought the book because of the history behind it rather than for practical use, but it’s since become one of my go-to sources for delicious, retro treats.

For these orange-walnut twists, I worked with a yeasted pastry dough for the first time. Though the process was a bit labor intensive, I was thrilled with the flavor and gorgeous, golden appearance of the final product. I followed the recipe exactly, but added chopped golden raisins to the filling for an extra burst of sweetness. I recommend eating these twists on the day-of, ideally while they’re still warm out of the oven.

image

An image from the 1959 Pillsbury Bake-Off.

Recipe courtesy of Pillsbury’s Best 1000 Recipes: Best of the Bake-Off Collection.

By Mrs. Bertha E. Jorgensen, Portland, Oregon

  • 2 packets active dry yeast
  • 1/3 cup unsalted butter
  • 3/4 cup hot, scalded milk
  • 1/3 cup granulated sugar
  • 2 tsp. Kosher salt
  • 2 tsp fresh orange zest
  • 2 large eggs
  • 4 to 41/2 cups all-purpose flour, sifted

For the filling:

  • 1/3 cup unsalted butter, softened
  • 1 cup powdered sugar, sifted
  • 1 cup finely chopped walnuts or other nuts you prefer
  • 1/4 cup finely chopped golden raisins

For the glaze:

  • 1/4 cup freshly squeezed orange juice
  • 3 tblsp. granulated sugar

Yields 18-24 twists.

1. Soften the yeast in 1/4 cup warm water. Meanwhile, add 1/3 cup butter to the hot, scalded milk in a medium saucepan. Once the butter has melted, allow the mixture to cool to lukewarm.

2. In a large mixing bowl equipped with a paddle attachment, combine sugar, salt, orange zest, eggs, and softened yeast. In increments of 1 cup, gradually add the flour until a stiff (but not dry) dough forms, beating after each addition. I used about 4 1/4 cups. Cover the bowl with a damp towel and let stand 30 minutes.

3. While the dough is resting, prepare the nut filling. Using a hand mixer or a spoon, cream the butter until light and airy. Blend in the powdered sugar and then add the nuts and raisins.

4. Roll out the rested dough into a 22 x 12 inch rectangle on a lightly floured working surface. Spread the nut filling evenly on the 22-inch side. Fold the uncovered side over the side with the filling. Cut the dough into 1-inch strips (crosswise). Twist each strip 4 or 5 times. Hold one end of the twist onto a greased, unlined baking sheet, then curl the remaining strip around the center to form a pinwheel. (See above for step-by-step photos).

5. Cover the shaped twists with a damp towel and let them rise in a warm place (85° F) until light and doubled, 45 to 60 minutes. Preheat the oven to 375° F and bake the twists for 15 minutes. Meanwhile, prepare the glaze by cooking orange juice and sugar over medium heat until the sugar dissolves and the mixture is slightly bubbling. Brush tops of rolls with glaze and bake for 5 more minutes. Remove from the oven and transfer the twists immediately to a cooling rack.